Drop, Fly, or Die
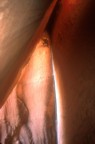
Stolen Chimney
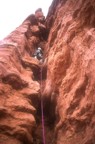
Cave Route
Three Strikes and You're Out
Rimshot
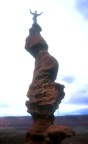
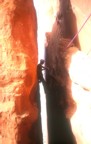
Stairway to Heaven
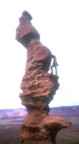
Pinhead